Understanding the Basics of Drone Photography
Drone photography has revolutionized the way we capture images. With the ability to gain a bird’s-eye view, drones allow photographers to explore untapped perspectives and create stunning visuals. Whether you’re a professional photographer or a hobbyist, mastering how to take professional drone photos is essential for producing high-quality aerial images. In this guide, we will cover everything from the foundational aspects of drone photography to advanced techniques, so you can elevate your aerial shots to the next level. For a comprehensive look into aerial photography, check out How to take professional drone photos.
What You Need to Get Started with Drones
Before you can capture breathtaking images from above, you need to equip yourself with the right tools. Here’s a list of essential items for starting your journey in drone photography:
- Drone: Choose a reputable brand with a good camera. Popular options include DJI, Parrot, and Autel. Look for models that have a decent flight time and photo resolution.
- Camera Quality: Aim for drones that offer at least a 12MP camera for high-resolution images.
- Spare Batteries: Longer shooting sessions require extra batteries. Invest in several to extend your flying time.
- Controller: Some drones come with their own controllers; others can be controlled via smartphone apps.
- Filters: Neutral density (ND) and polarizing filters can enhance your aerial photography and control light intake.
- Smartphone or Tablet: Useful for live viewing and adjusting settings through the drone’s app.
- Remote Identification and Safety Tools: This includes software or devices that ensure compliance with local laws and enhance your flying safety.
Key Camera Settings for Aerial Photography
Understanding the technical aspects of your drone’s camera is crucial for capturing high-quality images. Here are some key settings you should familiarize yourself with:
- ISO: A lower ISO generates less noise. Generally, keep the ISO between 100 and 400 for the best results.
- Shutter Speed: Adjust your shutter speed depending on the motion. For moving subjects, a faster shutter speed (1/500s or higher) is ideal, while for landscapes, a slower speed can help capture more light.
- Aperture: A wider aperture (lower f-number) lets more light in and can create a blurred background effect, while a smaller aperture (higher f-number) provides greater depth of field.
- White Balance: Set the white balance according to the lighting conditions to reproduce colors accurately.
- RAW Format: Whenever possible, shoot in RAW format for greater flexibility during post-processing.
Types of Drones Suitable for Professional Photos
When selecting a drone for professional photography, consider factors such as camera quality, flight stability, and portability. Here are some of the best options available:
- DJI Mavic 3: Known for its dual-camera system and long flight time, making it excellent for capturing high-resolution images.
- Phantom 4 Pro V2.0: Offers a 1-inch sensor for stunning detail and image quality along with powerful shooting features.
- Autel Robotics EVO Lite+: This drone boasts an impressive camera that shoots 50MP photos and has a 1-inch CMOS sensor.
Tips for Capturing Stunning Drone Images
Choosing the Right Time of Day for Photos
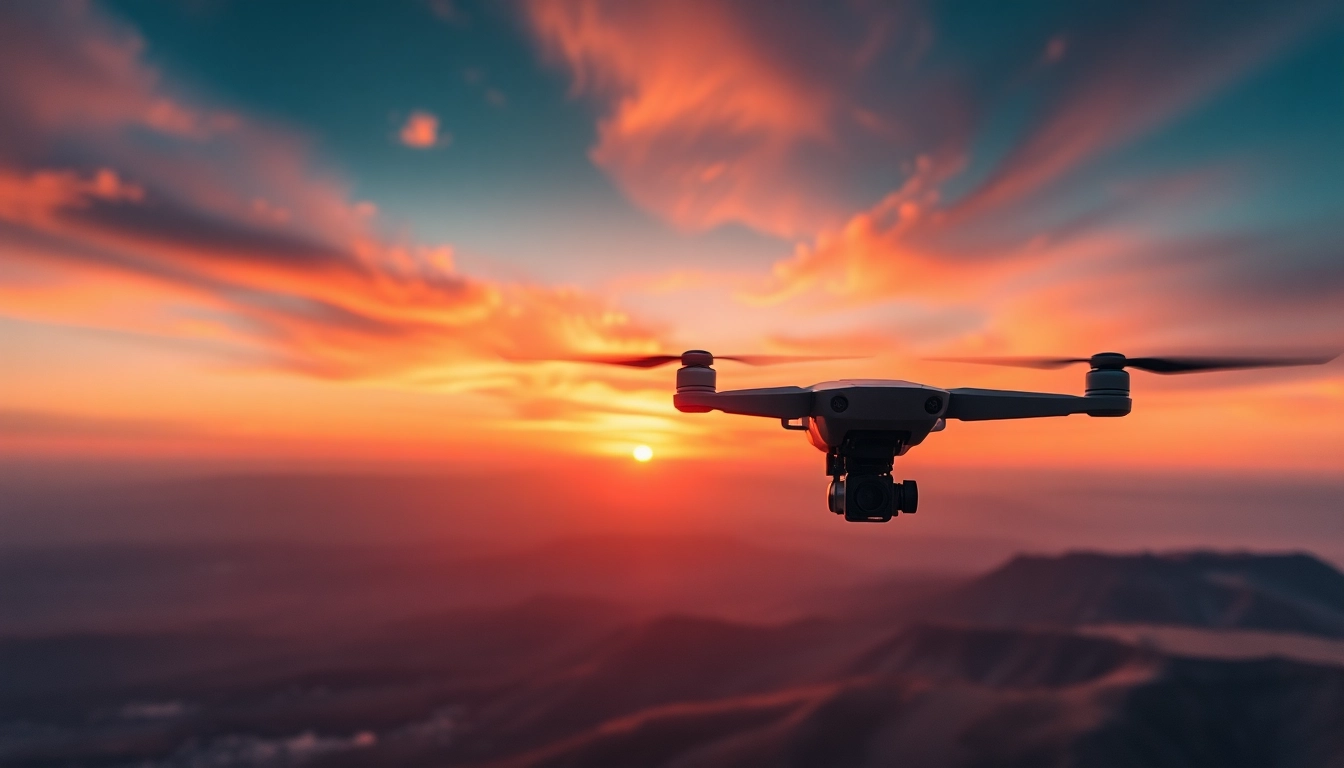
The quality of light plays a crucial role in photography. The best times to shoot are during the golden hours—shortly after sunrise and before sunset—when the natural light is soft and diffused. Avoid harsh midday sun as it can create unflattering shadows and glare. Take advantage of weather conditions as well; a slight overcast can act as a natural diffuser for the sunlight.
Composing Your Shot: Rules and Techniques
Composition is key to any photographic art. Here are some techniques to enhance your drone photography compositions:
- Rule of Thirds: Imagine your frame divided into nine equal parts and position the main subjects along these lines or at their intersections.
- Leading Lines: Use natural lines within your scene (like roads, rivers, or pathways) to guide viewers’ eyes through your image.
- Framing: Use surrounding elements to frame your subject, which adds depth and context to the image.
- Balance: Ensure visual balance by placing elements of interest evenly across the frame.
Post-Processing Techniques for Enhancing Images
Post-processing plays a vital role in professional photography. Here are some tools and techniques to enhance your drone images:
- Adobe Lightroom: Great for adjusting exposure, color grading, and cropping images to enhance composition.
- Photoshop: Ideal for more intricate edits such as creating composites, retouching, or removal of unwanted elements.
- Color Correction: Adjust the colors to make the image pop, ensuring the final output looks vibrant and true to life.
- Sharpening and Noise Reduction: Apply appropriate sharpening and noise reduction techniques to maintain image clarity while preserving details.
Advanced Techniques for Professional Quality
Long Exposure and Night Photography with Drones
Long exposure photography with drones opens up a new dimension in aerial imagery. To achieve this, you’ll need to use ND filters to reduce the amount of light hitting the camera sensor and enable slower shutter speeds. Some tips include:
- Set your drone to manual mode to control exposure settings.
- Utilize a shutter speed of a few seconds to create motion blur, especially for water and clouds.
- For night photography, shoot in RAW and experiment with high ISO settings to capture the intricacies of low-light scenes.
Using Different Filters for Creative Effects
Filters can dramatically alter your drone’s photography potential. Here’s how to use some common filter types:
- Neutral Density (ND) Filters: Used to reduce light, allowing for longer shutter speeds even in bright conditions.
- Polarizing Filters: Enhance color saturation and contrast while also reducing glare from reflective surfaces like water.
- Graduated ND Filters: Useful for balancing exposure between the sky and ground, particularly effective during sunrise and sunset.
Handling Challenging Weather Conditions
Weather can make or break your aerial shots. Here’s how to adapt to varying conditions:
- Wind: Check wind speed before flying. Avoid flying in high winds as they can destabilize the drone.
- Rain: Only fly drones rated for wet conditions; otherwise, wait for dry spells.
- Fog and Haze: While fog can create atmospheric shots, ensure visibility remains safe for flying.
Common Challenges in Drone Photography
Dealing with GPS and Altitude Issues
Drone pilots often face challenges with GPS signal loss, which can lead to altitude inconsistencies. To tackle these issues, ensure your drone has a robust GPS system. Familiarize yourself with your drone’s return-to-home function and learn to fly manually should GPS fail.
Legal Restrictions and Airspace Regulations
Understanding the legal framework surrounding drone flight is paramount. Always check local regulations about flying drones, including prohibited zones like airports and national parks. It’s advisable to register your drone if required and remain updated on changing laws.
Battery Life Management for Extended Shoots
Battery life is one of the critical aspects of drone operation. To manage it effectively:
- Plan your flights in advance by scouting your location and determining the optimal routes.
- Avoid aggressive flying; instead, maintain a steady speed to conserve battery.
- Monitor battery levels closely and ensure you have backup batteries for long sessions.
Showcasing and Selling Your Drone Photos
Best Platforms for Sharing Aerial Photography
Sharing your photography is vital to gaining exposure and attracting potential clients. Popular platforms include:
- Instagram: Ideal for sharing visual content and connecting with a community.
- 500px: A photography-centric platform that attracts serious photographers and buyers.
- Flickr: Great for managing and showcasing your portfolio through organized albums.
Building a Portfolio to Attract Clients
Your portfolio should reflect your unique style and skill level. Include:
- A variety of shots that showcase different techniques and settings.
- Descriptions that explain the context behind each image, emphasizing your expertise.
- Client testimonials if available, as this adds credibility and helps establish trust.
Strategies for Monetizing Your Drone Photography Skills
There are multiple avenues to monetize your drone photography:
- Freelance Work: Offer your services to businesses, real estate agents, and event organizers.
- Stock Photography: Upload your images to stock platforms to earn passive income.
- Social Media Marketing: Build a strong online presence and use it to attract sponsors and collaborations.


